As one of the important tools of modern manufacturing technology, the stability and performance of 3D printer largely depend on the operation of the motherboard. As the core control unit of the printer, the motherboard is responsible for processing instructions and coordinating the work of various components. Once the motherboard fails, the printer may not work properly. Therefore, mastering how to replace the motherboard of a 3D printer is a practical and necessary skill for users.
First, the reason for replacing the motherboard
Replacing the motherboard usually occurs in the following situations: the printer suddenly fails to start, the control panel is unresponsive, the motor or heating module is out of control, and there are frequent crashes or restarts. After checking and confirming that the motherboard is damaged, replacing the motherboard is the most direct and effective solution.
Second, the preparation before replacement
1. Tool preparation
Prepare tools such as screwdriver, cable tie, electric soldering iron (if welding is needed) and multimeter to ensure the smooth replacement process.
2. Buy a matching motherboard
Different models of 3D printers have different motherboard models. Before replacement, you need to confirm the original motherboard model, or refer to the printer manual to choose a new motherboard with strong compatibility, such as the common RAMPS 1.4, SKR series, Creality motherboard, etc.
3. Back up configuration information
If the original motherboard can still be connected to the computer, it is recommended to back up the firmware configuration (such as through Arduino IDE or configuration tools) or record key parameters (such as stepping motor micro-step setting, thermistor type, PID parameters, etc.) so as to quickly restore the settings after replacement.
Third, the replacement steps
1. Power failure and shell removal
Turn off the power supply and unplug the power cord, and wait for the capacitor to discharge. Remove the printer housing to expose the location of the motherboard.
2. Disconnect the connecting cable
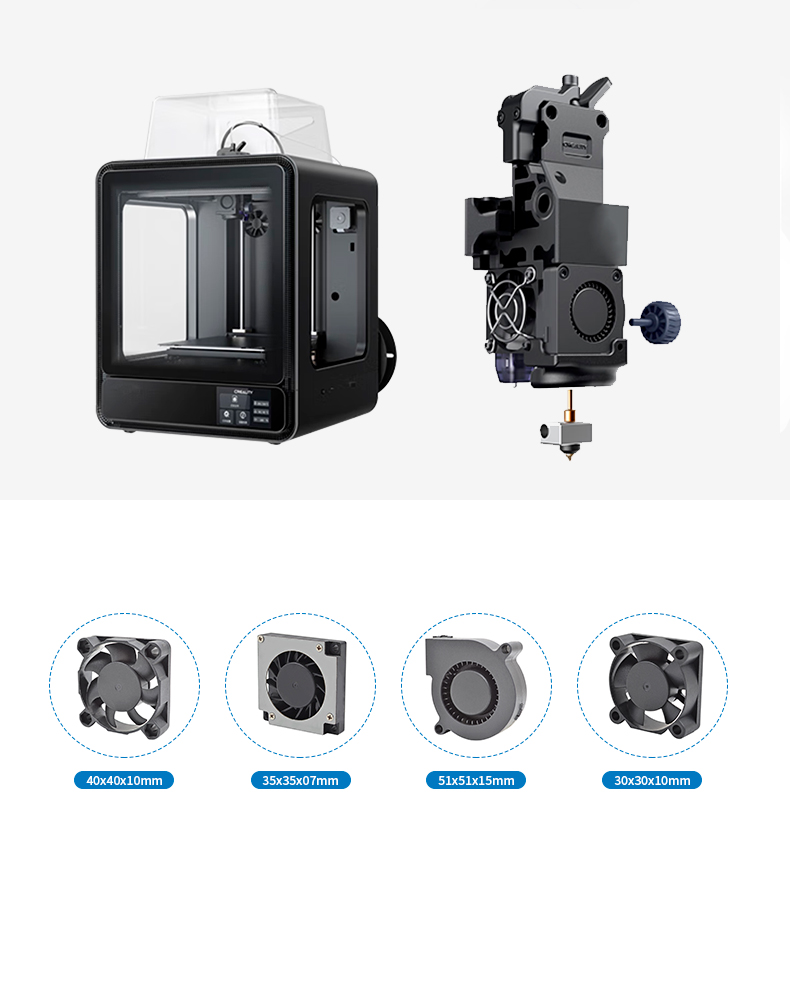
Disconnect all cables and modules connected to the motherboard one by one, including motor cable, heating bed cable, heating bed cable, fan cable and display cable, and mark them for subsequent installation.
3. Remove the old motherboard
Unscrew the screws fixing the motherboard, and carefully take out the old motherboard, taking care to avoid damaging the surrounding components.
4. Install a new motherboard
Put the new motherboard in place and fix it with screws. Plug in the interfaces again according to the marks, and ensure that the connections are correct and firm.
5. Power-on test
Turn on the power supply, and observe whether the main board indicator lights up normally. Connect the computer, and use control software (such as Pronterface, OctoPrint, etc.) to test whether all components respond normally, such as motor movement, heating function, fan operation, etc.
6. Update the firmware (if necessary)
If the new motherboard is a generic model, it may be necessary to re-burn or update the firmware to adapt to the current printer model and configuration.
Four, common problems and suggestions
-Wrong wiring leads to motor reversal or heating failure: check the wiring sequence and replace the motor wire or heating module interface if necessary.
-Firmware incompatibility: Reburn with the correct configuration file.
-There is no display or error on the screen: check whether the display cable is plugged in properly, and try to reconnect or replace the data cable.
V. Conclusion
Although it seems complicated to replace the motherboard of 3D printer, most users can complete it smoothly as long as they follow the steps and pay attention to the details. For beginners, it is recommended to operate under the guidance of experienced people for the first time, or watch relevant video tutorials to reduce risks. Mastering this skill can not only prolong the service life of the printer, but also improve your understanding and control ability of 3D printing technology.

 Hotline:18914229323
 18914229323
 huichangwen@126.com