In the process of 3D printing, the adjustment of Z-axis height is one of the key steps to ensure the printing quality. An accurate Z-axis leveling can effectively avoid printing failure, model warping and uneven bottom surface. Therefore, mastering the correct Z-axis height debugging method is an essential skill for every 3D printing enthusiast and practitioner.
First, the importance of Z-axis debugging
In FDM (Fused Deposition Modeling) 3D printer, the distance between the nozzle and the printing platform (that is, the Z-axis height) determines the printing quality of the first layer. If the nozzle is too far away from the platform, the material will not adhere well; If it is too close, it may scratch the platform or block the nozzle. Therefore, accurately adjusting the initial height of Z axis is the basis of achieving good printing adhesion and fine bottom details.
---
Second, common Z-axis debugging methods
# 1. Manual leveling
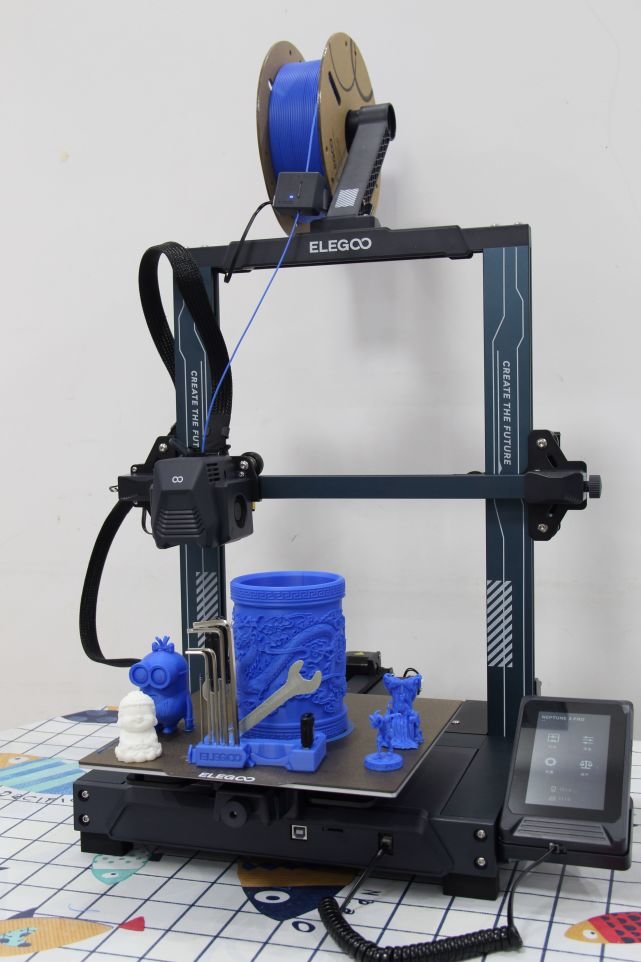
This is the most basic and common leveling method. The operation steps are as follows:
-Heating the platform and nozzle: firstly, heat the platform and nozzle to a temperature suitable for printing, so that the platform is in working condition.
-Move the nozzle to the corner of the platform: use the control panel or software to move the nozzle to the four corners and center of the platform.
-Adjust the height of the platform: By adjusting the screws under the platform, an A4 paper can be inserted just between the nozzle and the platform with slight friction.
-Repeat inspection: Make sure that the clearance at each point is consistent, and repeat adjustment if necessary.
Although manual leveling is tedious, it has strong adaptability to equipment and is suitable for beginners to master the leveling principle.
# 2. Semi-automatic leveling (sensors such as BLTouch)
Many modern 3D printers are equipped with automatic leveling sensors, such as BLTouch. Its working principle is to measure the heights of multiple points on the platform by probe before printing, and generate a height compensation map, so as to dynamically adjust the Z-axis height.
The use steps are roughly as follows:
-Install the sensor and configure the firmware.
-Start the automatic leveling function, and the system will automatically scan all points of the platform.
-The printer will compensate according to the measured data, so as to ensure that the nozzle keeps a proper height during printing.
This method saves time and is suitable for complex or irregular platforms.
# 3. Software-aided leveling
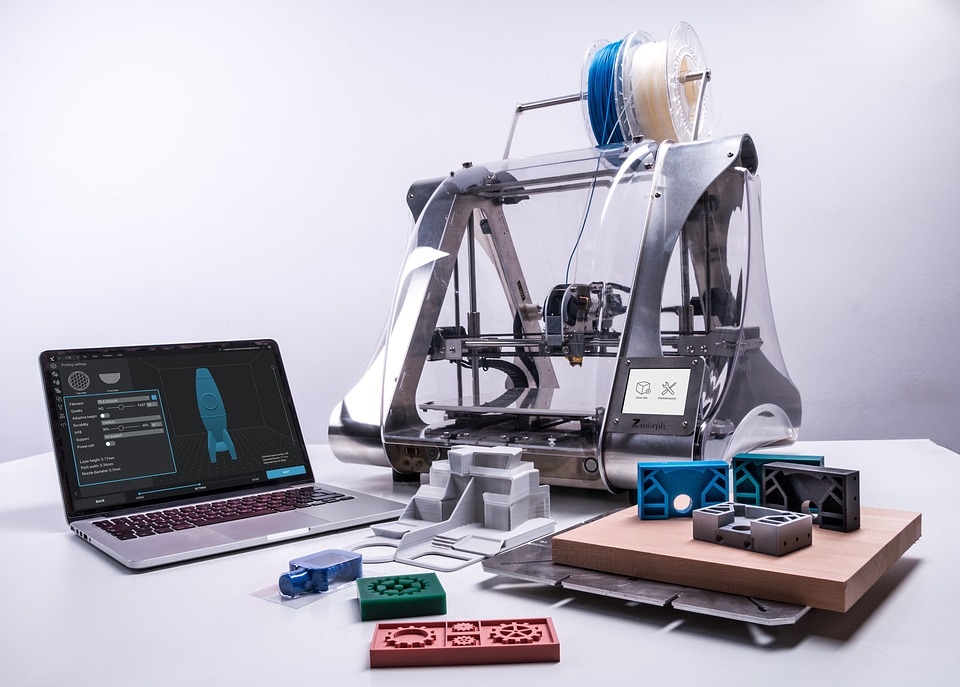
Some 3D printing control software (such as OctoPrint and Pronterface) also provide leveling assistance. Users can fine-tune the Z-axis height by sending G-code instructions through the software, and observe the printing effect for real-time adjustment.
---
Iii. Matters needing attention when debugging Z-axis height
-Platform cleaning: ensure that the platform is clean and free of oil pollution, otherwise it will affect the adhesion of materials.
-Warm-up of hot bed: during leveling, the platform should be kept at the working temperature to avoid errors caused by thermal expansion and cold contraction.
-Nozzle status: Make sure that the nozzle is not blocked and installed firmly, so as not to affect the leveling accuracy.
-Regular resetting: Even if leveling is successful once, it should be rechecked regularly, especially after changing the platform or moving the printer.
---
IV. Conclusion
Accurate adjustment of Z-axis height is the premise of obtaining high-quality 3D printed parts. Whether it is manual leveling or automatic equipment, mastering leveling skills can significantly improve the printing success rate and finished product quality. With the development of technology, automatic leveling has become the mainstream trend, but for beginners, manual leveling is still an important basis for understanding 3D printing mechanism. Through continuous practice and summing up experience, every 3D printing user can master this key skill and protect his own creation.

 Hotline:18914229323

 18914229323
 huichangwen@126.com